Saturday, 26 September 2015

The name's Blond - Caramel Blond {Salted Caramel Chocolate Blondies}

Why am I attempting silly Bond-jokes and (seemingly) infatuated with light hair colour? I don't mean blond(e) in the hair sense, but in the confection sense. In case you haven't encountered it before, blondie is a dense slice similar to brownie except without cocoa and instead with a vanilla or butterscotch flavour. 


Yeah, I've obviously been trying hard to think of a clever story about this recipe, but I don't have much to work with... However it is my own recipe, so I do feel clever about that, having combined and refined my fave choc brownie recipe (Whittakers) plus Donna Hay's salted caramel and choc brownie (which really seems like a blondie to me).


I wanted the denseness of choc brownie along with the sweet-and-salty flavour of the caramel brownie. Did I succeed? My workmates were certainly very complimentary when I brought some to work for a farewell morning tea. But I'll let you decide... hopefully you'll be pleasantly surprised!


Salted Caramel Chocolate Blondies

250g butter (regular is fine - if you have butter salted with sea salt that's perfect, but I rarely do!)
3/4 cup caramel (I buy canned caramel as I'm hopeless at making it, but if you prefer to make it yourself then I won't stop you...)
2 cups brown sugar, packed
4 eggs
2 tsp vanilla essence
1 & 1/2 cups plain flour
1/4 tsp baking powder (if you want a slightly more cakey and less dense blondie)
1 block of chocolate with caramel filling (e.g. Cadbury's Caramello, Whittaker's Milk Chocolate Caramel)
sea salt to top it off

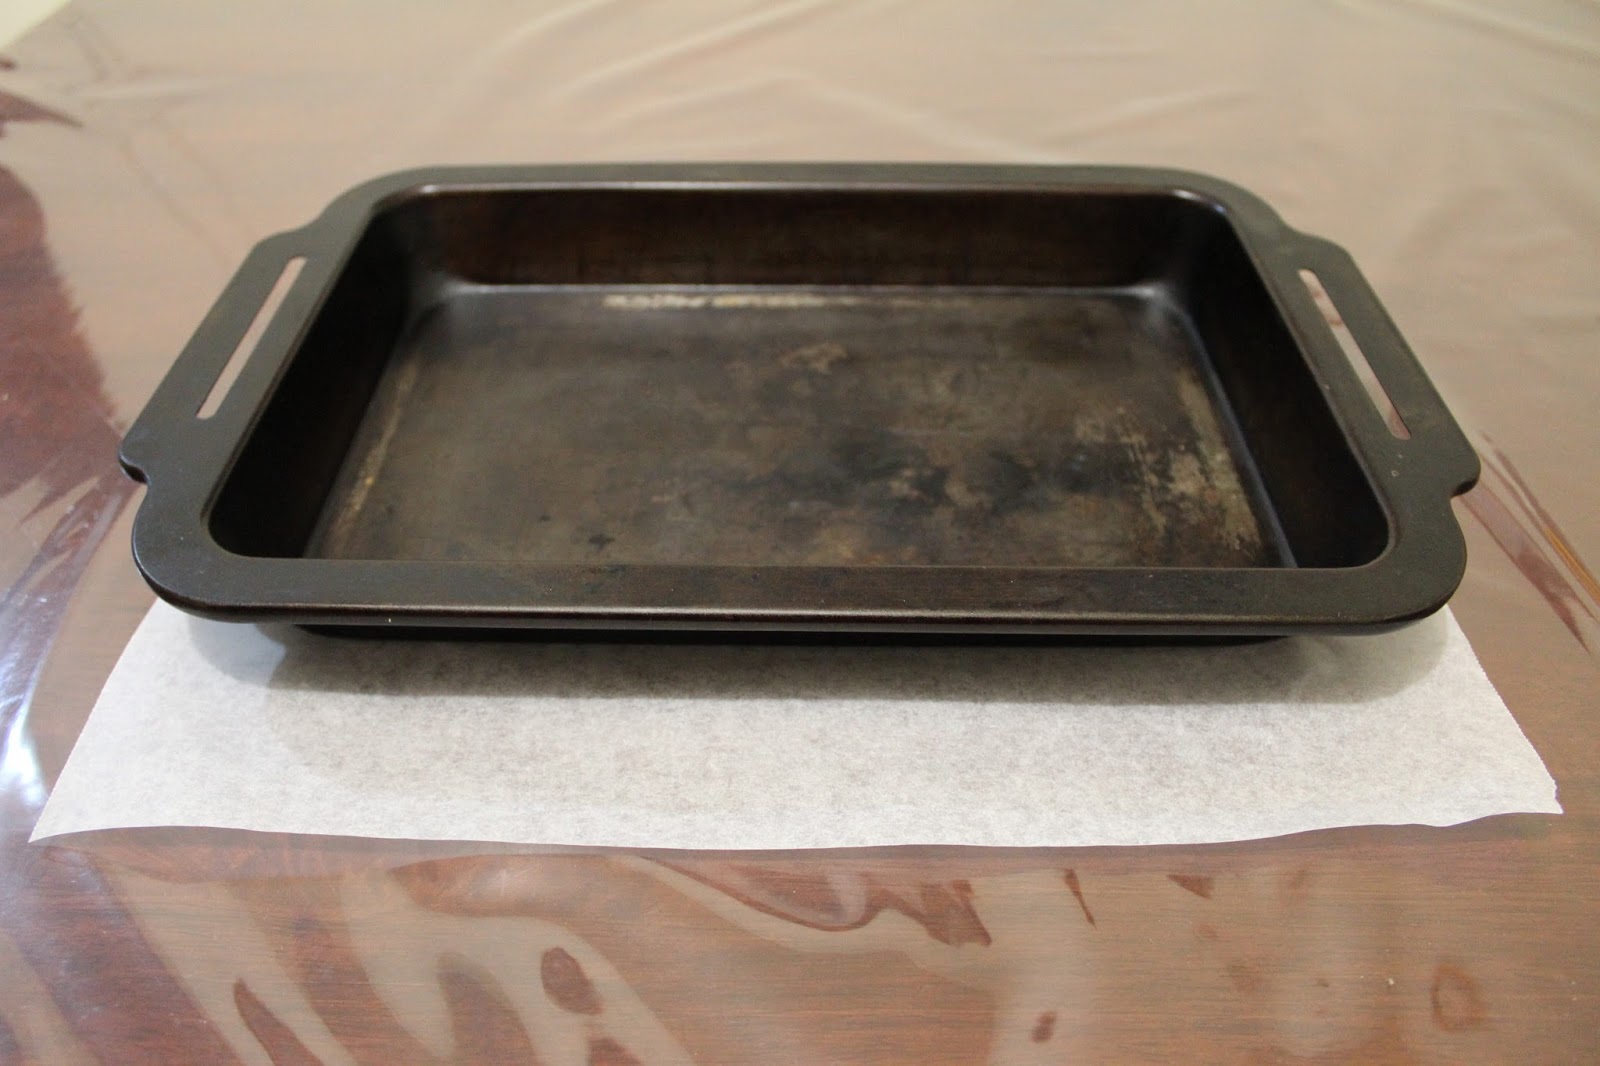
Preheat your oven to 180 degrees C (160 degrees fan bake). Line a 7" x 11" (approx) tin with baking paper. Here's an easy way to do this: cut a rectangle of baking paper wider than the tin... 


Push the paper into the corners of the tray. 


Take out the paper and cut from its corners to the indented corners on diagonals. 


Fit the paper back into the tray and bend the corner flaps so they overlap and fit the corners. You can spray a bit of oil into the tray before lining to help keep the baking paper in place.


For the blondie, place the butter, caramel and brown sugar in saucepan over a moderate heat. 

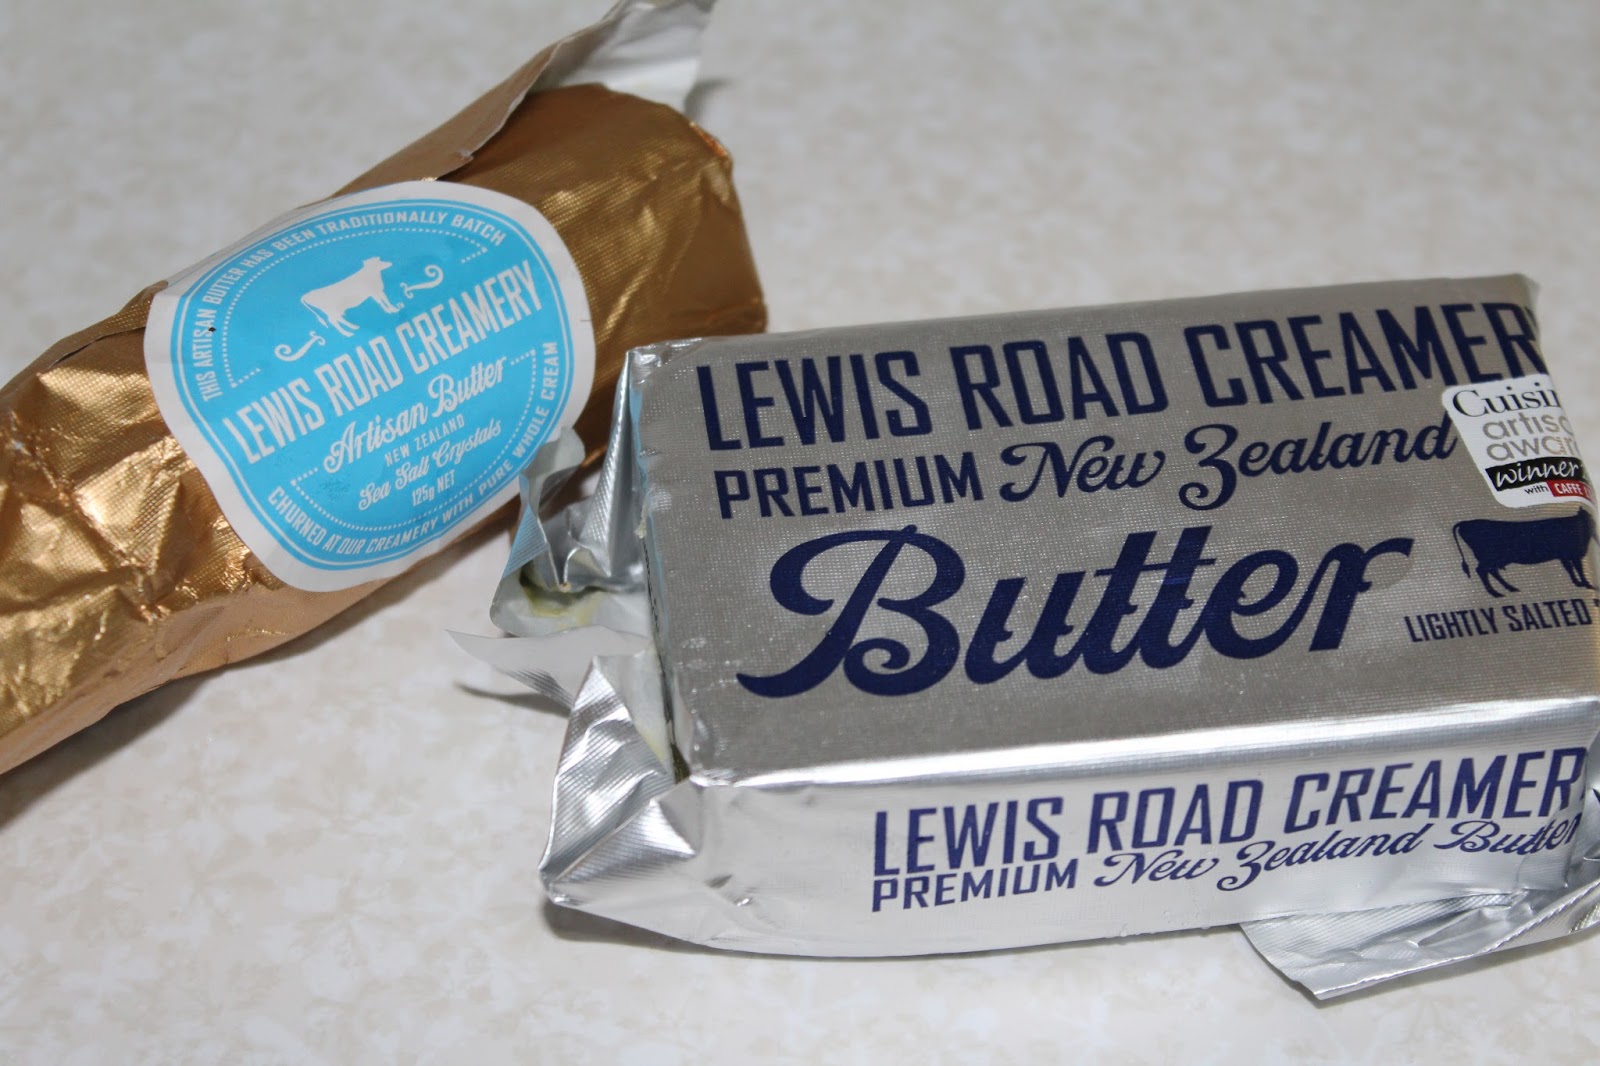
Only the best butter in the world.

Stir the mixture occasionally until all the butter has melted then remove from the heat.


Sift the flour and baking powder (if using) into a bowl. Crack the eggs into a separate small bowl or jug. Add the flour and eggs to the sugary butter mixture alternately, ending with the flour, and mix using a whisk or spatula.


Pour the batter into your lined tin. Chop up the block of chocolate and space the pieces across the batter, pushing them down gently. Sprinkle sea salt across the top of the batter.

Ideally you will have more self-control and more caramel chocolate to use... :-|

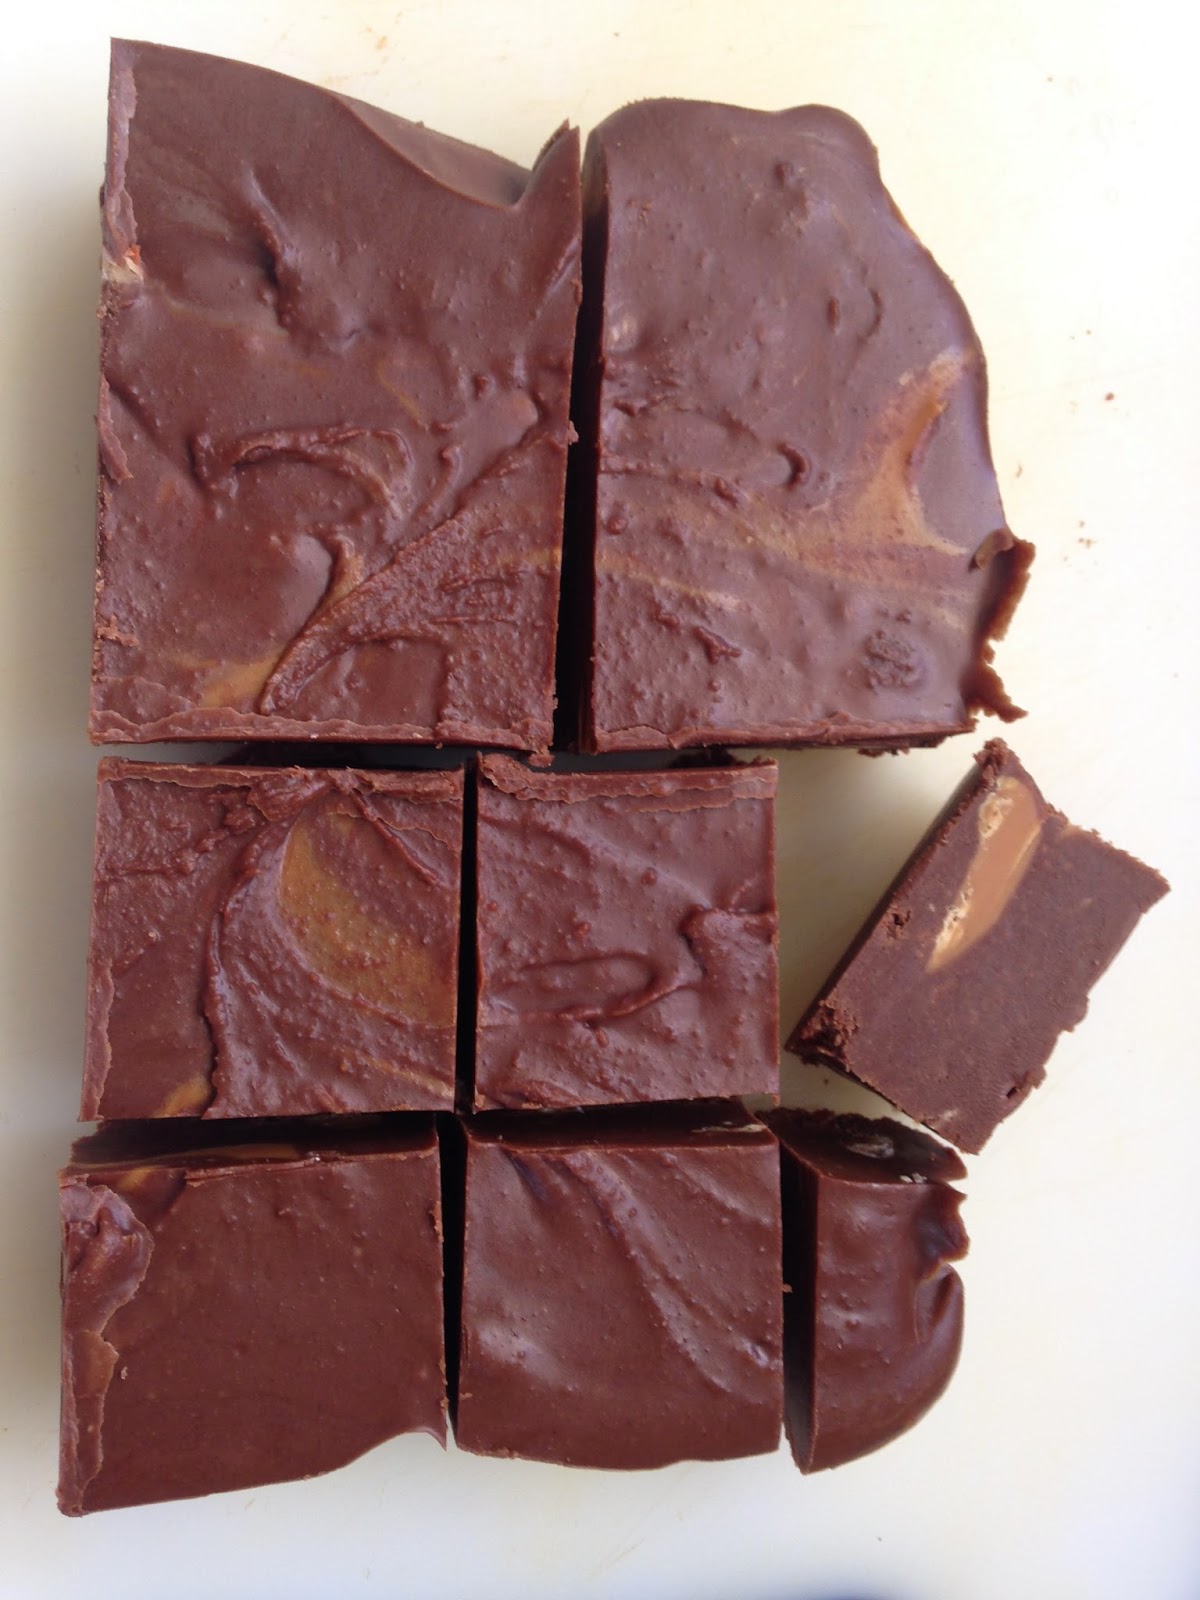
Bake for 30 mins then test the cookedness of the blondie with a skewer - if it comes out with liquid still on it then check 10 minutes later. For a dense, fudgey blondie you will want to see moist crumbs on your skewer. 

Personally I prefer to let blondie cool - and even refrigerate overnight - before digging in to ensure that fudgey texture, but this would be nice served warm for dessert also!


Friday, 21 August 2015

Three Weddings and a... Birthday (Cake!) {Wedding No.3}

Nothing like a sick day off work to remind me I have some blogging to catch up on - it would be wrong to just leave things hanging half-way through 'Three Weddings and a Birthday Cake', right?! 

After this wee series I PROMISE to put some actual, rustic, homemade, genuine baking ideas up; even I can't look at cake decorating inspo all day. 

Well, except maybe on sick days... in between binge-watching the latest two seasons of Rookie Blue (I feel totally ok if the series isn't renewed after the Season 6 finale, I'm in a good space right now). 

Ahem, so, cake!

Wedding Cake No.3: Naked Glory

When someone mentions a 'naked cake', what comes to mind? Probably a number of dodgy things, but I want to change those connotations to positive ones... think of something like this instead:


Naked cake by BakerMama

That delightful number was C & K's inspiration cake for their wedding at ANZAC weekend this year. My third wedding cake ever, this one was to be the most 'organic' design - so natural compared to the thick layers of fondant, and less piled-on than the buttercream-slathered look. Naked cakes typically have little shaping done to them, the filling between layers is visible and the barest amount of icing is smoothed around the outside (kind of like a light dusting of snow!). Topped with fruit or flowers, no cake could be fresher!

C & K love Chocolate Guinness cake (and each other of course! <3) so the base of their cake had to be that flavour. Classic carrot cake (I believe I used Annabel Langbein's recipe) won out for the middle tier, and some lovely and light lemon poppyseed for the top tier. Given that I had only ever seen naked cakes made with the same flavour (or at least the same colour) for each tier, I did a practice run of the cake...


For this practice cake I used three different covering methods: naturally oozing filling (bottom tier), scraped filling (top) and 'snow dusted' like the inspo cake for the middle tier. C & K stuck to their guns and decided to go with the latter, and liked my garden flower arrangements enough to entrust me with the task of preparing the decorations as well!

So off I went to make 12 inch, 9 inch and 6 inch cake rounds... 

... And to sing to the flowers in my wee garden, in hope they would be blooming at the time of the wedding (an end-of-April wedding could be a chilly autumn event in New Zealand). 

Fortunately, my singing didn't shrivel the flowers, but I did have some trouble with one of the carrot cake layers under-cooking, hence the middle layer is not as tall as I would have liked. Still, the three tiers you see here were served along with two slab cakes (one each Choc Guinness and carrot), so there was plenty of cake irrespective!


My tree trunk cake stand was made for such a rustic, natural cake as this!


The gorgeous white frilly lily-like flowers along with the lovely soft pink rosebuds came from our neighbours garden, after she had heard of my weekend caking requirements! The blue daisy ones are from my Felicia bush, the small blue ones are from a ground cover with blue star-shaped blooms, the pastel purple ones are geraniums, I threw in some smaller pink camellia blooms, and some jasmine leaves make up the foliage.


Love those white ones!
It was a pleasure to be involved in the wedding of these two young love birds and to learn a new cake design at the same time :-)


Sunday, 21 June 2015

Three Weddings And A... Birthday (Cake!) {Wedding No. 2}

After that brief interlude by IBS-bleh, we're back to IBS-bake and therefore cake! I've been busy with birthday cakes lately - hopefully photos to come in a post of their own, but first I must report on the promised wedding cakes...

Wedding No.2: C + I = Buttercream Seascape

This wedding cake was for my (very trusting!) friend C and her fiancĂ© who were married at Easter weekend. Their stunning inspiration photo was this one below. Unfortunately I don't have the credit details at hand - it seems to originate on OneWed but they don't list the source... I've asked the site moderators for the credit info and will update if I get a response. 


Creator unknown - found on OneWed
Goes to show how important it can be to watermark your work! I've used PicMonkey to mark the photos that follow, on the recommendation from the wise and wonderful Rose of Rose Bakes. She provides some super-simple instructions that helped me a lot here. Also, she makes gorgeous and clever cakes that you should definitely check out!

I must add that the bride's talented friend M created the stunning sugar sunflowers and foliage, travelled hours with them by car and attached them just before the reception - legendary work!!! Despite neither her nor I knowing what the other was going to do, I think that both cake and decorations looked beautiful together.

This cake had to serve approx. 120 guests so a single-tier like the one above wasn't going to cut it. In fact, it took a 12 inch carrot cake, a 10 inch passionfruit buttermilk cake and an 8 inch rich chocolate mud cake, as well a sheet cake also in the mud cake flavour to provide enough dessert for the guests. Not as delicate as the inspo cake, but with the sunset-over-the-ocean theme of the wedding, I tried to create an ombrĂ© effect of waves with foamy tops. In the first picture below you can compare it to the real waves and decide for yourself how I did!


Super shiny Swiss meringue buttercream!
From another angle, the icing pattern looks more frothy and its colour looks better blended (something that I realised I need more practice at!). 


View from the top
Now I'm just playing with my new camera for lighting fun!
If I'd had more time I would have liked to pipe around the cake boards between layers but it was a bit of a rush once we got into the venue, especially to get the beautiful decorations on, so I hope it didn't detract from the overall effect. Here's the fully decorated cake:


Yes, I played around with the contrast in this pic and I don't regret it at all!!
I love the lighting in this picture - and the detail in those sunflowers!

Here are the cakey details for anyone interested:

  • I used the Chelsea Sugar carrot cake recipe, but as is this is prone to under-cooking in my very average oven, I've since switched to an Annabel Langbein recipe. For the filling, I used my favourite recipe for super-stable cream cheese icing from Rose Bakes with a little lemon rind added.
  • The passionfruit buttermilk cake is a Women's Weekly recipe that I have recently come across - very dense but with a nice fresh flavour from the passionfruit. It was filled with a store-bought passionfruit curd (us working gals have to take shortcuts somewhere!) but unfortunately the layers were prone to sliding as a result, since the curd reduced friction between them. Next time I'd recommend a passionfruit buttercream instead.
  • For the chocolate cakes I used another Chelsea recipe - it still produces a spongy chocolate cake texture rather than a thick brownie-like one. Which is totally fine if you want rich chocolate flavour which still looks like cake! Simple white chocolate ganache filled these chocolate layers.
  • The Swiss meringue buttercream was made the cheat's way that has changed my life (which one day I will add to my SMBC post...) in copious quantities - 4.9 times the recipe at that link to be precise! After crumb-coating the cakes, I coloured the rest of the icing four separate shades of blue, which took more Wilton Sky Blue gel colour than you would imagine given the pastel shade. And I used two shades on each layer, obviously the lighter on the top half and the darker on the bottom. I was washing blue colouring off everything in sight for days!
  • Note: 12 inch cakes are heavy and need to be firmly attached to their base board - this one wasn't and went for a little slide into the side of its carry box in the car on the way. Fortunately buttercream is very forgiving and fixable!!

The bride and groom seemed to have a great time - I was glad to be able to contribute to their happiness in this way on their special day :-)


Friday, 29 May 2015

A Word From Our Sponsor {IBS-Bleh}

When I started this blog I mentioned two reasons for its acronym name: the desire to 'unleash the baker inside' as the tagline reads, but also the health condition that affects how I have to approach baking and food in general these days. Let's call these IBS-bake and IBS-bleh respectively.

I guess it might seem strange that I don't discuss both of the IBSes in equal weighting. Though that might be a blessing in a way, as Irritable Bowel Syndrome - IBS-bleh -   involves far fewer pictures of cake, flowers and other pretty things... 

It's certainly true that IBS-bleh gets less air time because it's the sort of thing that is symptomatically only ever embarrassing (like an episode of 'Embarrassing Bodies' all about ME!!). So to discuss it properly, I would either share the indignities that are my bodily functions or talk about theoretical gross things that happen to sufferers in general. Not. Dinner. Conversation. 

And to be honest, I think about IBS-bleh way less than IBS-bake! Most of my spare thoughts run towards cake designing and Thai cooking (or whichever recipe book I have my nose in), rather than how to not feel unwell by the end of the day.

But that doesn't mean there aren't days (if you follow my double-negatives) where it's hard to think of much else beyond the bleh... 

Like last week: I felt the effects of eating a few pieces of pear and apple three days after the fact

Since I haven't really covered the topic since my first post, I thought it was about time to delve into the what (and a little of the why) of Irritable bowel. So let's take a break from the endless cake & baking photos and dive right in! I'm in the mood, after all...

IBS-bleh: Symptoms are the guts of it

According to the New Zealand Health Navigator website, IBS is "a common condition, affecting 1 in 5 to 1 in 10 people...[causing] a range of symptoms including abdominal cramping, bloating, diarrhoea and constipation." Gosh, that's a lot of people - that means there's a reasonable chance that you, reader have experienced or are experiencing these symptoms, too. Especially if you're a female in your twenties like me - 

And 'symptoms' are pretty much the guts (pun intended!) of IBS. Being a functional disorder of the large intestine, IBS doesn't change what this organ looks like (its structure). Therefore, the US Department of Health and Human Servicesthe International Foundation for Gastrointestinal Disorders and Dr Wiki(!) all agree that it is the symptoms which characterize this syndrome.

A spasticolon 

Behind those symptoms uncomfortable cramping, unpleasant constipation and antisocial gas common for IBS sufferers is a colon going spastic. The video below is a good (not too gross) summary of what is happening in such bowels: the intestinal contractions that push waste through the colon happen faster, slower or more randomly than for a normal person (causing cramps and constipation or diarrhoea - or both!). In addition the inside of the intestines can be more sensitive to gas bubbles created during digestion (causing bloating and gas). 


Causes

There are a number of possible causes for IBS but ultimately there's no decisive cause (noticing a pattern?!). It's generally believed that communication between the intestinal nerves and the brain is faulty for an IBS sufferer, as WedMD describes, however this is not well understood yet. This helpful brochure published by the University of Manchester puts forth some other theories for IBS developing or flaring up, including:

  • An imbalance in gut bacteria
  • High use of antibiotics or presence of a food intolerance
  • Stressful situations or seasons in life
  • Hypersensitivity of the gut to pain and/or pressure changes
  • A link to hormonal cycles (perhaps why women are more likely to have IBS than men)

I remember hearing or reading around the time I developed IBS that it might be caused by a previous gut infection that I never recovered from, and so my intestines were doomed to spasm forevermore. I'm hopeful that it won't be lifelong, but each 'solution' I take has had a fail point so I'm less glib about it now...

Diagnosis

To add to the nebulous nature of the beast, there is no single diagnosis test. Rather it's identified by eliminating the possibility of other illnesses: coeliac disease, lactose intolerance, diabetes, etc. This is often done via blood tests, but there are rectal exams or a colonoscopy for the very keen. As IBS sufferers don't usually have any obvious physical issues with their intestines these tests may be of limited use for diagnosing except to cancel out more serious diseases like inflammatory bowel disease and bowel cancer

* * * * * * * * * * * * * * * * * * * * * * * * * * * * * * * * * * * * * * * * * * * * * * * * * * * * * * 
So I've got this condition that is more a collection of symptoms than an illness, has no one specific cause, and no known treatment (more about that in another post. I'd forgive you for wondering if it were all in my head! 

And although it's frustrating, very uncomfortable and sometimes even sore, I can't compare IBS with Crohn's and other IBDs. People with those burdens are a tougher lot than I am.

I'll leave you hanging with the problem defined, and follow-up at another time with some of the more positive stuff to help deal with IBS-bleh - and how I bake around it :-)


Saturday, 16 May 2015

Three Weddings And A... Birthday (Cake!) {Wedding No. 1}

It's been a bit quiet on the blog-front for the past month or so - which means that it's been busy in the kitchen! I'm finally able to share with you what I got up to slightly secretively in December and give an update of what I've been baking recently - namely a bunch of lovely but challenging wedding cakes for friends plus my bestie E's special birthday cake. There's been a lot of cake (understatement of the century!), so I'm spreading them over four posts altogether.

As much as I like to share with the virtual world, I'm looking forward to reading (and re-reading!) these finished posts myself to remind myself of what I've learnt during the past six months in baking and caking :-) I've also been taking fledgling steps in food photography, which you'll see in some of the posts, although where the images are not mine (mainly this post) I have given credit to the photographer(s).

Wedding No.1: S + J = Fondant Frills

Seeing as I was enjoying getting into cake decorating for the first time in 2014, I figured I would need a challenge to flex my new skills on by the end the year. S and I had flatted together before I got married, and then I got wind that her own engagement was near (having a unique vantage point because of J's request to hold the fort at the church bookstall while he took her out to a 'surprise' weekend retreat!).  I asked (as soon as it was proper) who would be making their cake, and was met with "we weren't even thinking of having a cake!" 

Well, that was all I needed to see my mission in life as their personal wedding cake-r. In my enthusiasm, I didn't ask how many people they were inviting, which meant a wee bit anxiety, a lot of thinking and a fair bit of consulting other more experienced cakers. The loans of my parents in-law's freezer and a colleague's massive perspex cupcake stand - to store and then display 370 cupcakes - convinced me that this epic first wedding caking could indeed succeed. 


Cupcakes a-plenty (photo by NOPHOTO)

Beautiful photos by Dru and Talia of NOPHOTO show the outcome: a day that drizzled until the last moment (the tent covering threatened with tiny drips to unleash a torrent of captured rain onto the cake table) cleared up for the ceremony then opened up into sunshine for bridal photographs. The bride and groom made a handsome couple in ivory and tweed respectively, flanked by bridal party members wearing the sunset colours of the icing flowers and leaves on the cake.

Photo by NOPHOTO
The cake itself was my first proper attempt at ruffles using gumpaste and I found this tutorial (by the wonderful Rose Atwater of Rose Bakes) to be invaluable. It took a wee while for each frill to dry but was not the most difficult design, seeing as the rustic look benefits from not looking absolutely perfect!


Photo by NOPHOTO
The gumpaste roses and leaves were made using Wilton and Americolor gel pastes and dusted with colour lustre dusts. I was really pleased with the yellow ones in particular - the orange dust I used gave them a nice depth. In case you're wondering...they were attached to toothpicks and stuck into the cake, while the leaves were attached using edible glue.

Photo by NOPHOTO
Cake flavours were Annabel Langein's banana cake recipe with dark choc ganache and preserved ginger (S's fave!), both covered in white choc ganache under a fondant base. 

The cupcakes were vanilla (MY fave recipe) and chocolate (a la Sweetapolita) with regular buttercream as I've posted about before except substituting half of the butter with Kremelta to make it brighter and whiter. Each had a little rolled rose and leaf in the same colours as the cake's ones. And there were certainly a lot of them...


Photo my own
So when I say it was an 'introduction' to wedding caking... it was more like a  baptism by fire!!! But good fun and good learning ;-) Thanks to the bride and groom for the opportunity, and to them and NOPHOTO (check them out!!!) for letting me use these stunning photos.

Photo by NOPHOTO


Friday, 20 March 2015

Peanut Butter (Nutter!) Chocolate Fudge

Maybe I should have been born American.

Chocolate and peanut butter - while perfect on their own - are simply heavenly combined. This is not a new revelation (my last post focussed on this same perfect duo). However it presents many opportunities that I am loathe to waste!


 The idea for this (original!) recipe was inspired by the cafĂ© at my workplace. A few weeks ago, I noticed for the first time their decadent chocolate peanut butter fudge. A colleague of mine managed to squeeze the staff for their recipe, which I rated pretty high on the scale of the-perfect-combination-of-sweet-and-peanut. I was surprised to find that, aside from peanut butter, its only ingredients were white and milk chocolate. Those sweet chocolate flavours were dulled down significantly by the smooth p'nutty butter - again I say, the perfect combination!


I'm in that category of people who consider that 'white chocolate' is an oxymoron so I went without the white when trying to replicate this fudge. Plus I wanted to reduce the melty-ness due to high cocoa butter by introducing sugar on its own. Here's my version, in which I used smooth, no-salt and no-sugar peanut butter. Add the sugar slowly - if you want to use sweetened peanut butter you may not need as much so just check the sweetness after each half cup of sugar you add. Crunchy peanut butter is another option, especially if you wish to omit the candy or melts.

Peanut Butter Chocolate Fudge

100g butter
350g Whittakers Dark Cacao chocolate
1 cup peanut butter
3 cups icing sugar, sifted
1 cup of peanut butter melts and candies e.g. Reeses Pieces

Melt the butter and chocolate together in a large saucepan over low heat. Add the peanut butter (still heating) and stir until combined.


I melted the butter on its own to start

350 beautiful, tasty grams...


Remove from heat and add the icing sugar half a cup at a time, tasting each time until preferred sweetness is reached. 

Stir in chopped peanut butter melts and candies if using. Pour mixture into a 9 inch by 13 inch rectangular tin, lined with baking paper. Refrigerate until set then cut into pieces and serve at room temperature.


You can use any peanut butter candies or melts, or even other flavours if you prefer


Before the fudge was set
Delicious 'after' shots!