Showing posts with label basic. Show all posts

Tuesday, 22 July 2014

A Farewell Feast

I should point out that I'm not 'farewelling' this blog - after less than six month's efforts! This post is about the farewell morning tea that I held a couple of months ago when I left my previous job. I'm well overdue for a post, and I've been meaning to share the shots and recipes of what I made then, so here goes!

Always trying to be classy, I designed a high-tea-like feast centred around sugar! I wanted to use my recently-aquired fondant skills and buttercream designs to get more practice and please a crowd, so I planned three cakey items: a buttercream rosette-decorated chocolate cake, a simple white choc-iced carrot cake, and rhubarb cupcakes with floral fondant decorations. For the 'extras', I had a failed attempt at macaroons (however, you may have noticed that I do not equate 'fail' to 'inedible' so I served them up as meringue bites anyway!) and made a successful batch of fig and ginger slice.


Recipe-wise, I once again leaned on the vast experience and creativity of Rosie at Sweetapolita for her delicious and attractive cakes. Her chocolate cake recipe with Swiss Meringue butter cream that I've blogged previously (and special post on making this butter cream yourself coming soon!) was three layers of decadence which I covered with rows of rosettes in graduated peach colours. For making butter cream rosettes, you need a large, 'open star' type of piping tip such as the Wilton #1M, fitted to a large piping bag. You start at the centre of the rosette and apply an even pressure to release the butter cream while moving the tip away from the centre in a tight spiral. Check out the photos below, taken by the j-amazing James for the detail...


I orientated the rosettes in each row in the opposite direction to the ones below them (i.e. I piped in the opposite direction) because I think that it emphasises the slight colour intensity change - and I like to add interest :-) To get the 'ombre' colour change, you start with a small portion of buttercream coloured as dark as you want to go, use it for the bottom row of rosettes, and with (hopefully!) the last bit of that icing, add a whole blob of uncoloured icing and mix to get your next shade lighter. 

You'd be amazed at how little coloured icing you start with for each consecutive row - colouring goes a long way! I used Wilton's gel colouring in 'creamy peach'. The lighter shades look more orange-y due to the natural yellow of NZ butter! This can be fixed a bit by using a shortening (Crisco, Kremelta, Chefade, etc) to replace some of the butter in the icing.


Cake number two was an interesting but delicious one: ginger carrot cake with white chocolate icing (also of Sweetapolita). Although it took FOREVER to cook (and even then wasn't quite done, as I found out when I cut it...), it was definitely tasty, and a nice change to raisin-and-walnut-ified carrot cake.


I wish I'd been able to take some shots of the inside of these cakes, but I was pretty busy being farewelled and all...

The macaroons, well, I'm probably not the expert on those. I had two goes, being careful with everything from ingredients to macaroonage (the technique for folding all the ingredients together), so I have no choice but to blame my tools and say that my very basic oven could not hack it. The one other time I have made macaroons they were perfect, and I wasn't nearly as careful but I DID have a fan bake oven to use at the time. Meh. People still ate them, and they were gluten-free. I used Christine's recipe from her inspiring blog, 1001 Makron - yes, that is my question in the comments for her base recipe post; it's really nice to have some interaction in the cold, hard world of blogging (hint hint!!! ;-)


These cupcakes were a bit too numerous for all the other baked goods on offer, but they were eaten up as leftovers (who knew that rhubarb was a favourite of architects!). I adapted Julie Le Clerc's vanilla cupcakes recipe by adding some rhubarb - a couple of cups, chopped and 'marinated' in castor sugar in the fridge. The icing is the simple buttercream recipe used here and the fondant flowers I covered in this post

I think that's all - oh wait! The ginger fig slice! I LOVE ginger slice, with a love that probably (just) tops my love of brownie. All I did was use the Edmonds Ginger Crunch recipe (which Chelsea Sugar appear to have permission to publish in that link!) and added a cup of chopped dried figs. Crystallized ginger would also go nicely in the topping. When I make ginger crunch, I at least double the topping ingredient quantities and use a good quality butter (so that it sets well), and sometimes halve the base quantities using a margarine instead (so that it doesn't set so well!). Goes nicely in a high tea set-up :-)


Mmmm... my mouth waters at the memory! When you have to say goodbye, sometimes cake is the only way to say it ;-)

By the way... you may have noticed that I've started to watermark some of my images with the blog's URL. I'm doing this in particular for the one-of-a-kind, special items that I make (not many at present, but hopefully a growing number) after reading this interesting post about copyright for images. Since my blog is being accessed around the world (hi overseas friends!) I'd love to have people come back to the source to check out where the random images spinning around the web come from. And if one day I ever want to make a dollar out of this, that's the way to play the game.

Happy baking, irrepressible ones! xo


Thursday, 17 April 2014

Foodie Goes To The Food Show... and finds Julie Le Clerc's Best Ever Vanilla Cupcakes!

Always in search of food-related inspiration and advice, I hurried to The Food Show when it came to Christchurch earlier this month. In particular, I was hoping to get some good baking tips from Julie Le Clerc (pronounced 'clear', as in my name!), who was running a demonstration on cakes, having just returned from India where she had been teaching the craft in a posh hotel.

When I arrived at the CBS Arena, it was like walking into a dream: the Rush Munro's (ice cream) stand was right by the door, Peta Matthias was on the big screen demonstrating something with okra, and Pic's Peanut Butter was giving away free samples!! Well, 'free' after having paid the entry fee, but I'm not one to look a gift horse in the mouth (whatever that means...). 

The Village Press is a slice of Hawkes Bay, where I grew up :) 
Peta Matthias on the big screen.
Another Hawkes Bay icon! Is my foodie obsession really surprising considering that I grew up in the Fruit Bowl of New Zealand?! 
The delectable wares of the Lewis Road Creamery, where the best butter on earth is made. True story.
Turns out I'm also a sucker for gadgets... a few minutes after walking into the show I'd bought Snapper clips for bags of half-opened food (made in NZ!) and a Miracle Whisk, of all things. Little did I know how useful this whisk would shortly be...

Jason Gunn adds a flourish during a cooking challenge - in front of a mouth-watering display of Kenwood K-Mix appliances.
Annabelle White co-hosts the cooking display with Jason Gunn.
Julie's demonstration was definitely the highlight for me - she was so professional and down-to-earth, I felt that she was speaking my language! Especially when she brought out the Swiss meringue buttercream icing... (I really must post on that soon!!).


Although her icing was a bit soft during the demo, I did pick up some new icing techniques. Aaaaaaannnnnddddd.....

......the recipe for Julie's Best Ever Vanilla Cupcakes!!! 

While at The Food Show, I got a text from a friend who was organising a fundraising pub quiz two days' out. Would I or someone I know be willing to do some baking to hand out after the quiz as a thank-you to the attendees? Not one to shirk from a good work (or a challenge!), I asked how many people she was expecting to attend. Oh, 80 plus people...

A no-fail vanilla cupcake recipe was just what I needed! In particular, I was glad to find a flavour-some recipe that didn't involve too many eggs to keep the cost down (two per double-dozen is a decent ratio, I think) - especially if you need to make four batches!!! I didn't have vanilla sugar at the time, so I just used more caster sugar and added an extra teaspoon of vanilla essence for each batch. But I now have a couple of vanilla pods in a sealed container to infuse a quantity of sugar for the next time I make these cupcakes.

I topped the cupcakes with the basic buttercream recipe that I used for this cake recently, flavoured lightly with vanilla essence. 

May I present...

Julie Le Clerc's Best-ever Cupcakes

1 & 1/4 cups plain flour, sifted
1 & 1/4 tsp baking powder
1/2 tsp baking soda
3/4 cup caster sugar
1/4 cup vanilla sugar
1/4 cup soft butter or margarine
2 small eggs 
pinch of salt
1/4 cup vegetable oil (not olive)
1/3 cup full-fat sour cream or yoghurt
2 tsp vanilla extract
150mL whole milk
maple syrup or sugar syrup to coat

Preheat oven to 175 degrees Celsius. Line 24 standard-sized muffin tin holes with paper cases. [I like to spray-oil my baking cases so that the cupcakes are easy to eat out of them without sticking too much]. 


Place flour, baking powder, baking soda and both sugars into a bowl. Add butter and stir together/rub in with a wooden spoon or whisk until the butter or margarine is evenly distributed and the mixture looks like fine breadcrumbs. [Julie called this process 'reverse creaming', but it's really similar to when you rub butter into flour when making scones. Of course, I used my miracle whisk...!] Make a well in the centre. 


Rubbing in butter with the miracle whisk
In another bowl, combine eggs, salt, oil, sour cream and vanilla and whisk until smooth. 
Pour this wet mixture into the well in the dry ingredients and stir for a minute or two to just combine. The mixture will be fairly thick but you shouldn't see traces of butter.

Lastly, slowly add add the milk, stirring until mixed together (mixture will be quite liquidy). 


Transfer the mixture to a jug or cup and pour into paper cases, filling cases until just over half full.

Obligatory baking-in-oven shot!
Bake for 15 minutes or until cupcakes are puffed and firm but not browned. Test one by inserting a skewer into the centre to see if it comes out clean. Alternatively, press on the top of a cupcake to see if it springs back rather than leaving a fingerprint!

These cupcakes don't fracture on their tops, which makes them easier to ice!

This batch are a little too browned - but doesn't affect the taste.
If desired, brush with maple syrup or sugar syrup before icing and decorating.

Iced, wrapped and ready to be favours for pub quiz attendees.
Yes, I do believe that I'll be back at The Food Show next year!


Saturday, 12 April 2014

Pastel Ombre Swirl Cake (Attempt #1)

For me, this is the Year of the Cake Decorator. And this is the first of a number of posts chronicling my adventures with amateur cake décor. Be prepared: there will be sprinkles, pastel colours, glitter, flowers, ruffles and all manner of girly stuff to come.

Ok, this post is not an original. Both the recipe and cake design belong to another blogger who is by far more exalted in the blogsphere than I. Rosie from Sweetapolita is an inexhaustible source of inspiration for the aspiring baker such as myself - and perhaps you, too? This cake is my first attempt at her Pastel Swirl Cake, and I have to say,  getting the swirl right is harder than it looks and I don't pretend to have achieved perfection (by a long shot...). 

However, the photos, if I may say so, are BRILLIANT. This is due in no small part to the Excellent Plan I made/hinted at in this post, that I was preparing some razzle dazzle for the shots in this blog. May I introduce James, who appears to enjoy photography to the same extent that I enjoy baking! I shall have to find a suitable picture for him, as I currently have none that are just right. 

So for the moment, relish in the photos, and I'll deal with the details later!


Better than an iPhone shot, eh?!


Soooo sparkly!!!
For a first effort, I'm pretty happy. Next time I'll use a dairy-based margarine (or soften the butter a little more) for the buttercream icing so that it blends together more easily on the sides. Sweetapolita's recipe for Whipped Vanilla Frosting has a good method to it, however it doesn't have a huge icing sugar-to-butter ratio, which I think might be why it was almost too solid to spread easily. The recipe that (I think? I should have written this down at the time!) used for crumb coating the cake is probably what I'll use if/when I do it again. It's a recipe that I was given during a Rosette Cake decorating workshop at The Make Cafe (oh dear, I can see that I have a backlog of photos to show you!). But if your butter or butter substitute is soft enough then it's much of a muchness in order to get those lovely buttery grooves from the palette knife on the cake, as you can see above :)

I'll also use less colouring in the icing for the top - so for the top of this cake, I'd use less violet food colouring and add a drop of the teal colour that I used for the sides. Yes, both of the icings used to do the sides are the same colour, just fewer drops for the upper colour. I think the very yellow NZ butter that we have here has affected the shade of the upper colour - it looks more lime green than teal!

But icing aside, this is one delicious cake. The recipe is Sweetapolita's Rich and Ruffled Chocolate Celebration CakeI know that as soon as you click that link I'll have lost you to the pretty pink ruffles that go with that gorgeous cake of hers, but I promise to 'bring the ruffles' in the near future - another fun cake to watch for!

This cake was made to celebrate a software release that Nathan and his co-workers had completed - the culmination of 18 months of hard work - and certainly a good cause to celebrate. But I reckon that you don't need a particular celebration or event to bake this cake; I've used this recipe over and over and it gives such a consistently delicious result. Deep and rich but not too rich that you can't eat both the cake AND the icing all in one go (who really has that problem anyway?!). And best of all, no creaming required, you just throw all the ingredients together! 

It is helpful to have a cake turntable/Lazy Susan to rotate the cake on, a palette knife or two (straight or off-set) to apply the icing, as well as a thin cake board for the base. 

Right, to the instructions...

Sweetapolita's Chocolate Celebration Cake

1 & 3/4 cups plain flour
2 cups white sugar
3/4 cup cocoa powder (preferably dark cocoa - Avalanche Dark Cocoa is one you can find in NZ supermarkets such as Countdown where it currently retails for $NZ4.99 per 200g)
2 tsp baking soda
1 tsp baking powder
1 tsp salt
2 eggs at room temperature, lightly beaten
1 cup brewed strong black coffee
1 cup buttermilk at room temperature
1/2 cup vegetable oil (I use soya or canola oil; olive oil has too strong a flavour)
1 Tbsp natural vanilla extract (the good stuff: vanilla essence with seeds)

Preheat oven to 180 degrees Celsius. Grease and line with baking paper two 8 inch (20cm) cake tins. [If you have 9 inch cake tins only that's fine, but you might find you don't have as much height in your overall cake to get some good colour blending in your icing. For a higher cake, you could make up 1.5 times this recipe. You could also use just one cake tin, but you'll need to increase your cooking time.]

In the bowl of electric mixer fitted with the paddle attachment, sift all dry ingredients. Add the remaining ingredients and mix for 2 minutes on medium speed (you may need the plastic splashguard that comes with mixer).

Divide the mixture equally among the prepared pans - batter will be liquidy. Bake for 20 minutes and rotate pans in oven if you have them baking on different oven shelves. Cakes are done when toothpick or skewer comes clean, after about 35 minutes total baking time. Cool on wire racks for 20 minutes then gently invert onto racks until completely cool.

Basic Buttercream Icing

450g dairy margarine* (such as Country Soft) or softened unsalted** butter (such as Mainland)
6 cups icing sugar, sifted
2-3 Tbsp hot water, as needed
1-2 tsp of essence for flavouring (vanilla is the usual)
A few drops of food colouring of your choice

Beat the butter until smooth and pale in a bowl with high sides (this takes approximately four to five minutes in a stand mixer or with a handheld mixer). Gradually add the icing sugar half a cup at a time, beating each time and adding a little hot water when it becomes difficult to beat. Make sure you scrape the sides and base of the bowl in between additions of sugar. Add the essence for flavouring to taste after the last addition of icing sugar.

K-for-Kenwood paddle!
Set aside approximately one third of the icing (around two cups full) in a bowl for the crumb coat. Divide the remainder of the icing equally between three different bowls to prepare the three different coloured icings for this cake plus some for the crumb coat. 

Add a few drops of food colouring to the bowl with the icing that will cover the lower part of the cake and stir in with a spatula until the icing is coloured evenly.  

This mixing is hard work!
I use a gel colour to get a more intense colour and because there are more colour options available. 


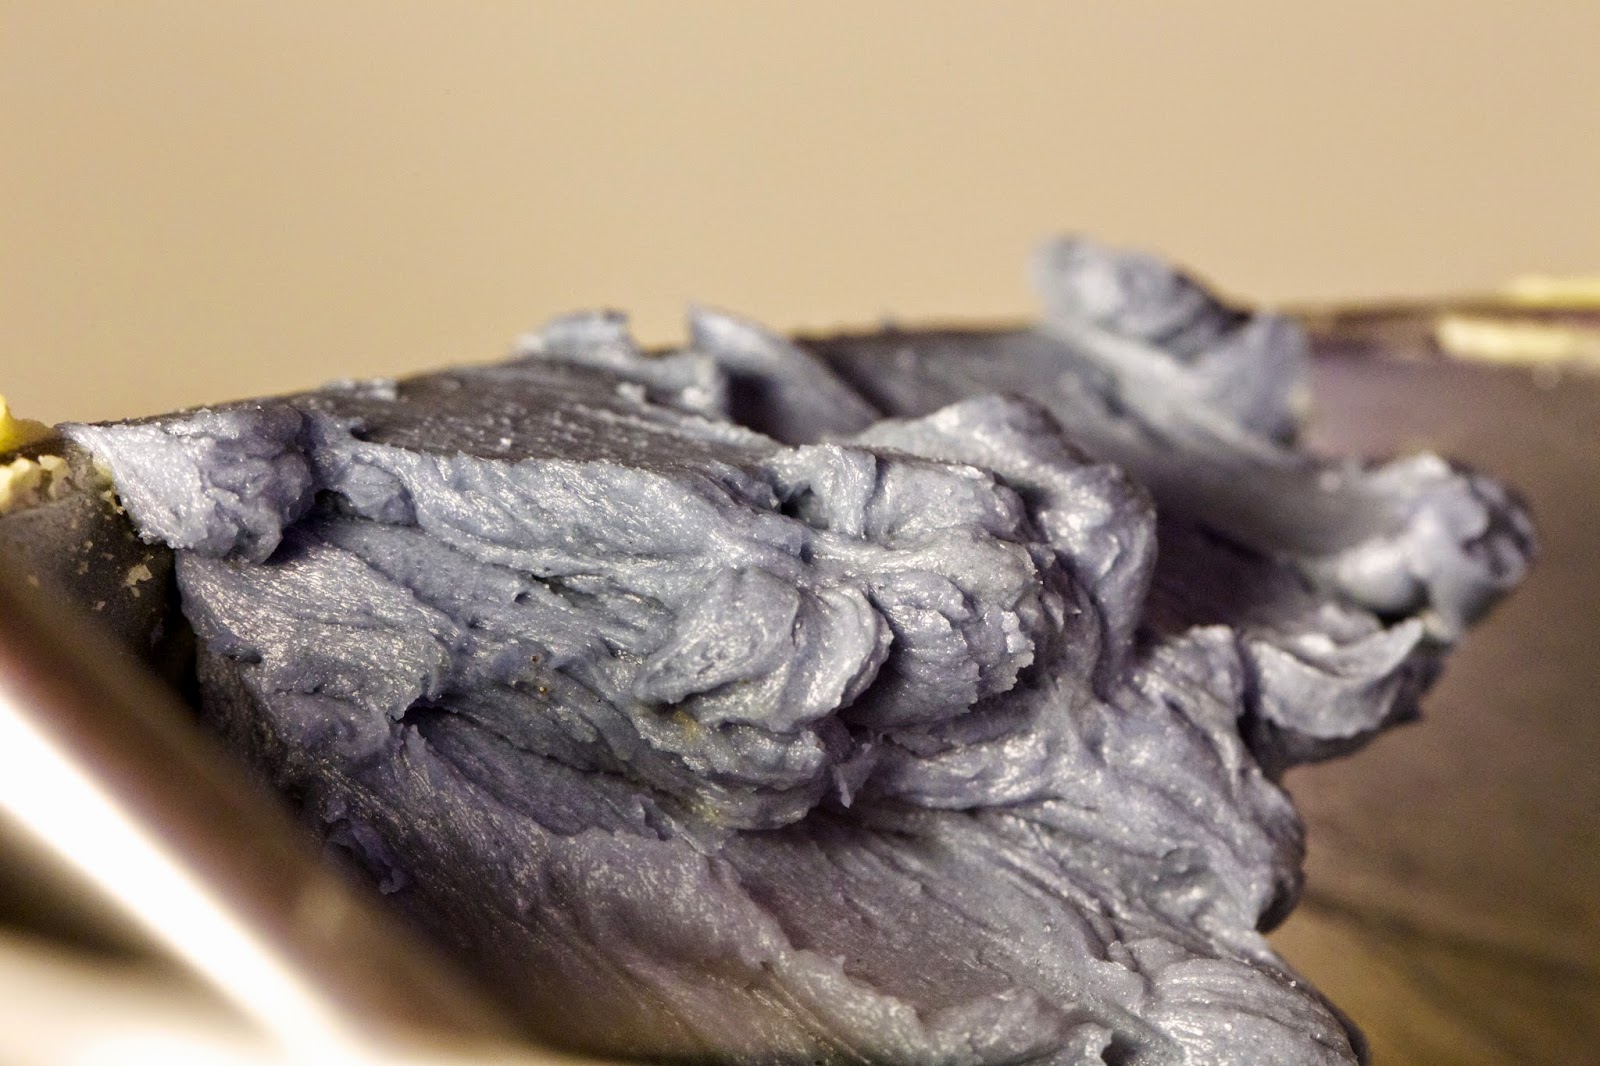
'Teal' colouring turned out mint green - this is probably because of the colour of the butter 
I must admit that I can't recall exactly how much icing I made up when I did this cake - the quantities above should be sufficient for doing the top, sides and crumb coat. You want to make sure you have about two cups of icing altogether for doing the crumb coat and filling between the layers, and one cup of icing for each of the different colours. If you think you'll need more after setting aside the crumb coating icing, make up an extra third of the recipe (150g butter/margarine, 2 cups icing sugar, etc). 

If you're really worried that you won't have enough, I recommend making up one third of the recipe to start with for the crumb coat, then make up the full amount of buttercream and split it into the three quantities for colouring. I'll have to double-check those quantities sometime by making this cake again...a trial, I know, but one I'm willing to take on ;-) If you do make too much icing, store it in a plastic container in the fridge for a couple of weeks if you can use it within that time.

*As I said earlier, I'd prefer to use margarine as a butter substitute for this recipe so that the icing is softer and easier to use. I do think that it needs to be a dairy-based margarine - not just so that it is actually butter-cream! The animal fat in dairy-based spread sets icing better than vegetable fat-based margarines and prevents the icing from seperating - like it did when I used low-fat cream cheese in the icing for this recipe! I like Country Soft range because they use buttermilk in the margarine, which whips up beautifully in a mixer. Thankfully, the 'lite' version works equally as well as the full fat in this recipe.

**Why use unsalted butter? It allows the baker to have more control over the flavour of the product, which is probably more important for icing than anything else! Mainland unsalted butter is usually the same price as regular salted butter at Countdown supermarkets)

Please note: this is not the best icing for piping. I recommend Swiss Meringue Buttercream icing for cakes because it will give you a flawless result without 'cracking'. I'll cover it in a later post but Rosie also provides great step-by-step instructions here along with more beautifully iced ruffles!

To Assemble...

Cut off any peaks from the top of the cakes that may have happened while they were baking, so that they have flat tops. Place one cake layer onto a cake board or something else sturdy for transferring it between the turntable and cake plate. Plop a dollop of your crumb coat icing on top of this layer and smooth it to the edges using a palette knife. Don't spend too long on this - I'm talking to myself as much as anyone else! No one will see the crumb coat (unless you're photographing it for a blog...) so it doesn't have to be perfect :)

Place your second cake on top of this layer of icing 'filling'. Plop another dollop of icing on the top and smooth it to the edges, using a large palette knife. Next load up your palette knife with more of the crumb coat icing and hold it flat against the side of cake while rotating the turntable so that your knife remains still and the icing adheres to the sides. Fill in any gaps around the middle of the cake where you can see the filling layer.

I put plastic wrap over the turntable to keep it clean :)


Ready to start the fun part!
To 'dress' the cake with the coloured icings, I highly recommend watching Rosie's great video tutorial. This is the sort of thing that's difficult to describe with words alone! And there are already plenty of words in this blog post. So here are some captioned pictures of me applying the icing according to Rosie's instructions. It's all about using multiple strokes and keeping the turntable moving.

As per the crumb coating, place a (generous) dollop of the top colour onto the top of the cake, and spread it to the edges, applying it thickly. I used and off-set palette knife/spatula and spread around in a circle while rotating the turntable clockwise.
Scrape the icing off the top edge so that it doesn't droop down the side of the cake - yet!
Make sure you frequently scrape off extra icing onto the edge of the icing bowl.

Second, add the bottom colour, applied thickly with lots of strokes.

When applying the 'middle' colour, let it spread a bit onto the bottom colour. Again, add a LOT - you can always scrape excess off, but it your excess colour has mixed with another, make sure you don't accidently re-add it to the cake again.
Blend the side colours a bit with many forwards and backwards strokes of the palette knife.

I've been told that this is the 'serious baker'-face! I'm smoothing the sides of the cake while blending the top colour into the sides a little from the top edge.

And there you have it - not the easiest cake but certainly lots of fun. This would look great with shades of yellow and orange, pink and red, blue... and although the sprinkles and silver cachous are optional, they make a great finishing touch.

I can't wait to try it again, and I hope you're up for giving it a go!